I just love the month of October, Halloween and the smell of Autumn in the air. Fat round pumpkins, gourds, and squash, can be found everywhere along with delicious apples! The smell of warm cinnamon is enough to make any house smell like one of most wonderful places. I've recently been very into Amigurumi, which is the Japanese word for knitted or crocheted stuffed animals or anthropomorphic creatures.
I started crocheting years ago, my mother taught me how. She's amazing what she makes, scarves, warm afghans, and ponchos. I never really had the patience to keep up with stitch count back then. I guess it just took me time to slow down. This is a little Jack o'lantern I made and have named Little Cinderella! I am hoping to make white or cream colored friend for Little Cinderella named Lumina. I can't wait to go to the Pumpkin Patch and pick out beauty for this year. I think my Halloween costume might be a bit Pumpkin inspired too we shall see!
Now for the pattern:
Amigurumi Little Cinderella Pumpkin Pattern
Supplies and Tools
Pumpkin Worsted Weight Yaen
Chocolate Brown Worsted Weight Yarn
Light Green Worsted Weight Yarn
Black Worsted weight Yarn
3mm or 3.75mm crochet hook
Poly fill
Yarn needle.
Stitch marker or Scrap yarn
Abbreviations and Symbols
sc = single crochet
stc = stitch count
ch = chain
sc2tog = single crochet two together, this meant as a decrease
sl st = slip stitch
rnd =round
* = repeat
Row = Row
Pattern notes: I used
Impeccable worsted weight yarn. You also do not have join rounds if you prefer working in spirals, that is up to the individual. Also Gauge of the hook does not matter unless you looking for making small pumpkin like mine, if not jsut make sure you yarn and hook match in size.
Pattern;
Body
Rnd 1 : With pumpkin yarn ch 2, sc 6 in second ch from the hook. join with sl st [stc 6]
Rnd 2 :ch 1, sc 2 in each sc,join with sl st, [stc 12]
Rnd 3 :ch 1, *sc in each sc, then 2 sc in the next sc*, join with sl st [stc 18]
Rnd 4 :ch 1, *sc in the next 2 sc, then 2 sc in the next sc* join with sl st [stc 24]
Rnd 5 :ch 1, *sc in the next 3 sc, then 2 sc in the next sc* join with sl st [stc 30]
Rnd 6-10 : ch 1, sc in each sc, join with sl st [stc 30]
Rnd 11: ch 1, *sc2tog, sc in the next 3* join with sl st [stc 24]
Rnd 12: ch 1, *sc2tog, sc in the next 2* join with sl st [stc 18]
Rnd 13: ch 1, *sc2tog, sc in the next 1* join with sl st [stc 12]
Stuff with poly fill
Rnd 14: ch 1, *sc2tog all around* [stc 6]
 |
| To enlarge Diagram click here |
Rnd 15: sl st all arround [stc 3] bind off and weave in
Stem
Rnd 1 : With Chocolate Brown yarn ch 2, sc 6 in second ch from the hook. join with sl st [stc 6]
Rnd 2-3: sc in each sc [stc 6]
Note: The stem you do not have join rounds. simply work in spiral.
Leaf
Row 1: ch 2, 2 sc in second ch from the hook.[stc 2]
Row 2: ch 1, sc in next sc, then 2 sc in next sc, [stc 3]
Row 3: ch 1, sc in next sc [stc 3]
Row 4: ch 1, sc2tog , sc [stc 2]
Row 5: ch 1 sc [stc 1]
Bind off and weave in
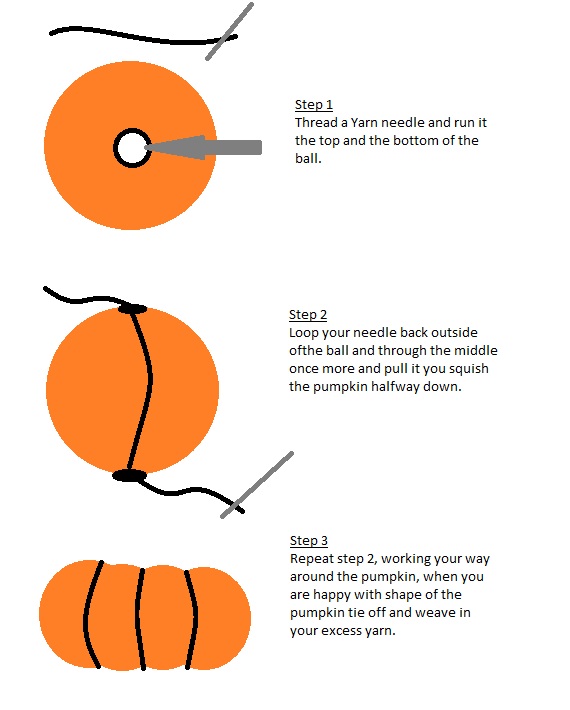
To make the body look like a pumpkin refer to the Diagram. Lastly attach all parts and embroider your own face on with black yarn, or even use beads for eyes. you leave him blank and make a few for nice table arrangement!
I hope this was easy to understand I've never written a crochet pattern before. Thee is plethora of information of how read patterns and how to crochet, and a lot of sites that offer some very awesome patterns out there! If you have any questions leave comment below
I am working on making a mask for a Halloween give away! See you next Time!
Dream Big!
Sorianna


 This year for Halloween I was genuinely stumped on a costume I like to come up with something original or work from something I can my own flair to. I was a Victorian Marionette doll this year. I made a Marionette from balsa wood and ribbon. I attached chains at the ends and clipped it into lace back blazer. I also wore a striking pink and blonde wig made by California Costumes. I found it at this Halloween and Magic shop. The Shop is called Mr.G's Magic and Costumes and they have been there for 14 years. They had a great selection of costumes and wigs. I liked that I was able to try on my wig before I purchased it. The staff was also wonderful. Very helpful and courteous I hope to be back soon.
 Of course Halloween is not complete without a Jack o'Lantern to ward off evil for another year. My sister bought me the largest Cinderella pumpkin she could find. It two me hours to carve and I think I scooped about 10lbs of pumpkin guts out. I was making this year's pumpkin a tribute to the Pumpkin King, Jack Skellington. I think he came out tiny bit sinister but I liked it. Pumpkin Carving has long tradition in my family I learned from my father who has such amazing ideas, which always inspired me.
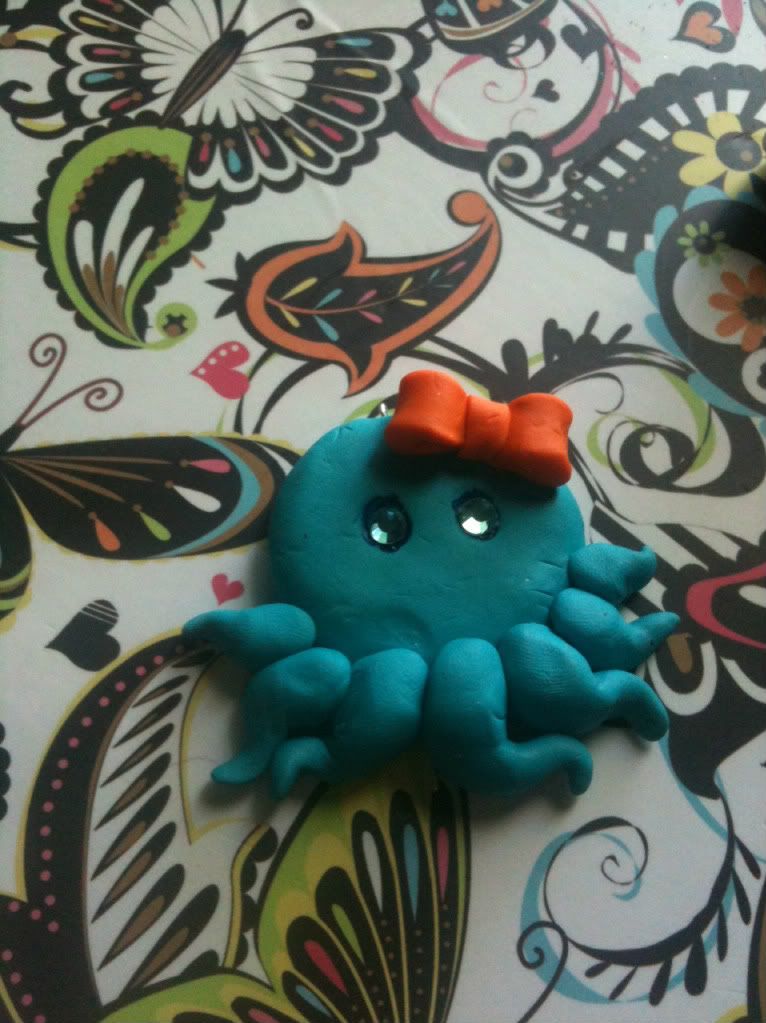
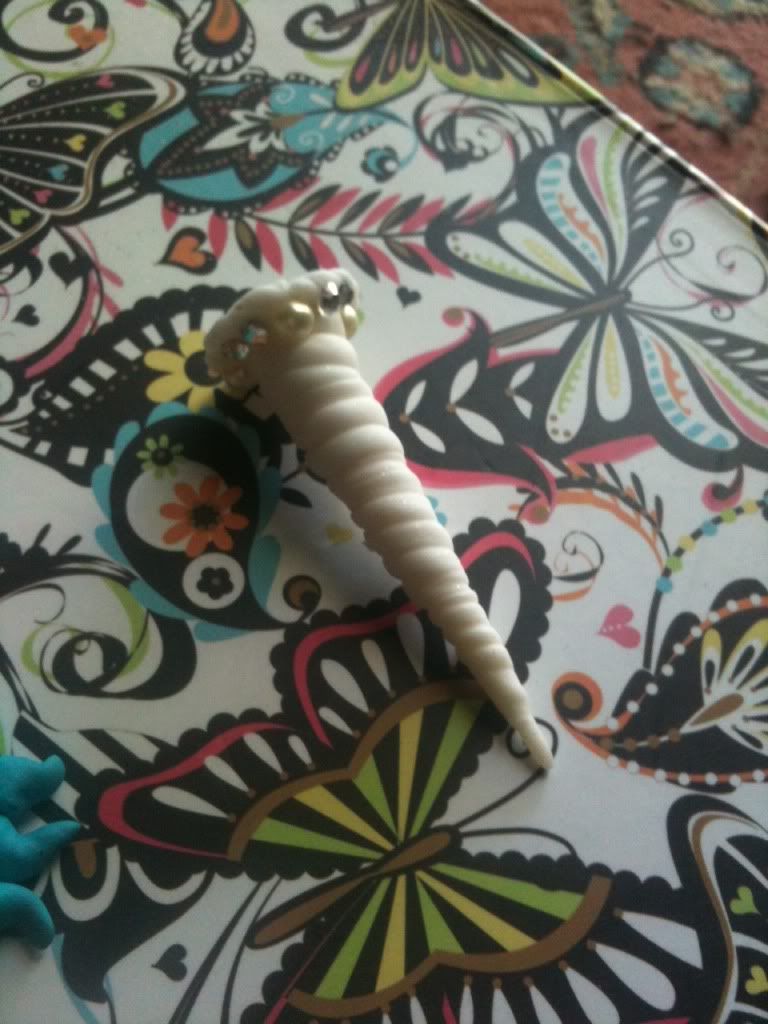 Now onto the fun stuff, I made this octopus pendant today as experiment for some new jewelry I've been dreaming. the process was pretty easy I'm happy it has sort of has a bubblegum look to it. I really love octopi they are so cute!!!! I plan on making amigurumi one. I also finally have a picture of the unicorn horn I promised to make for dear friend of mine who absolutely loves unicorns.
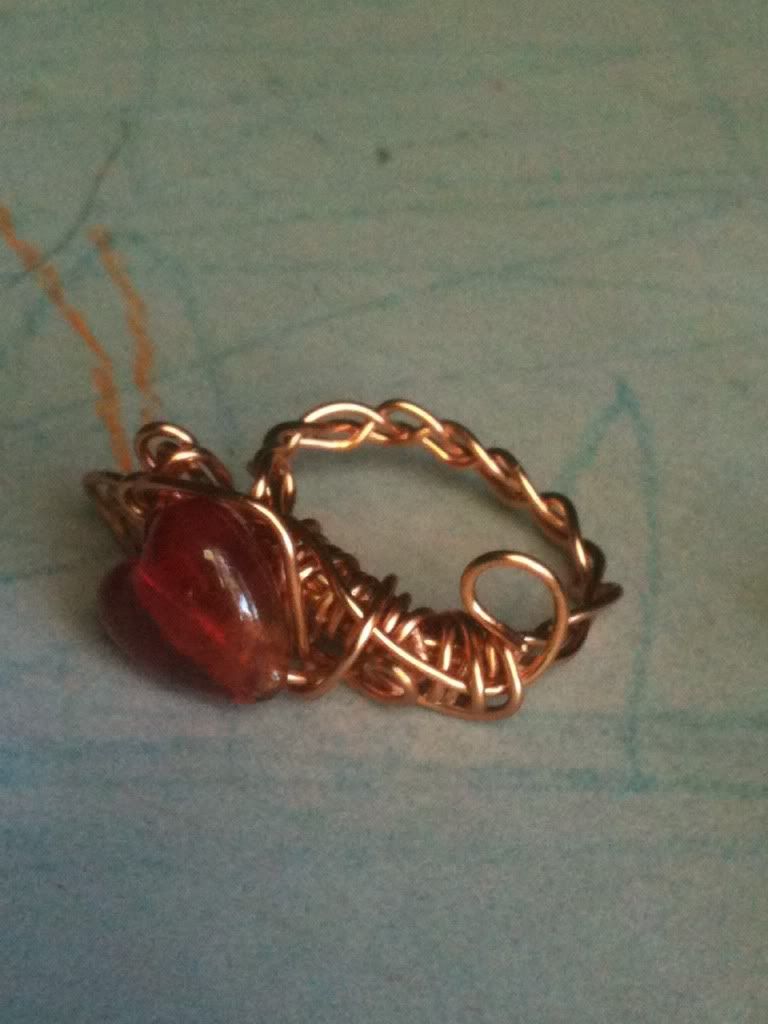 I also played with copper wire and aluminum wire to make some rings, my sister had brought up wanting a thumb ring I don't often make rings from wire, its something I have not experimented with very much. The copper wire I included red heart and I braided the wire and worked on the focal. I like how it came out I think next time I want to use a hammer to flatten the braid. The second which was done in aluminum I used glass pearls and focused more on coiling the wire. The ring I made with aluminum wire fits more on the ring finger than the thumb.
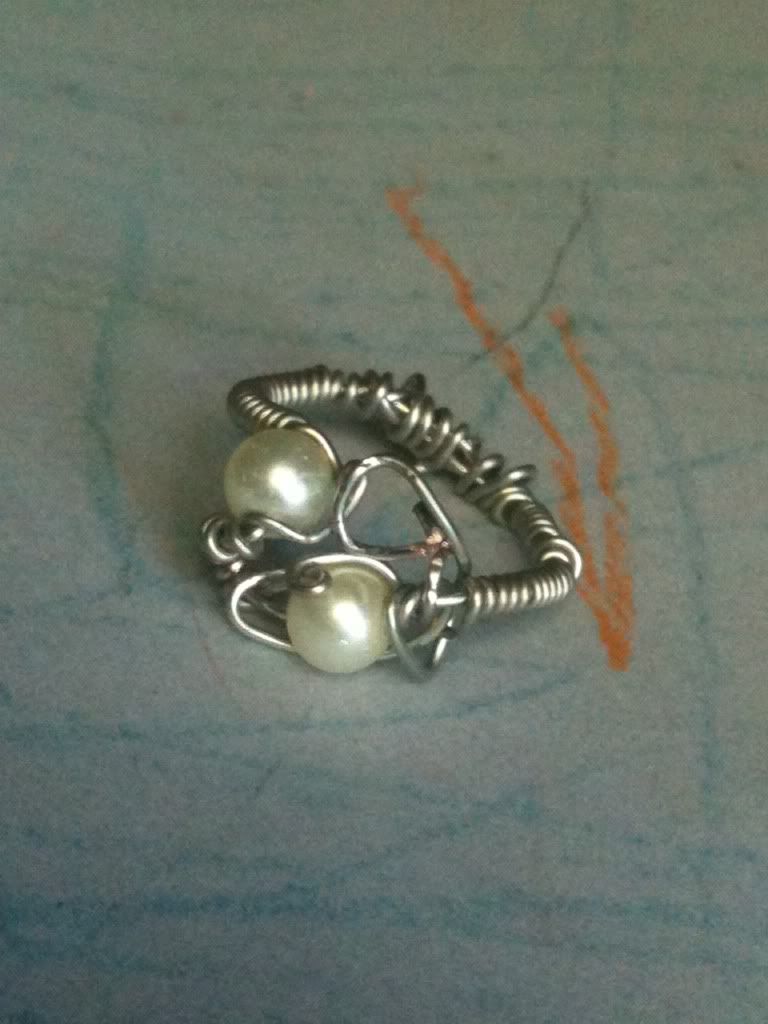 That's about it for what I played with today I'm contemplating my next tutorial project, and possible mask give away or giveaway fo piece of jewelry, My camera is broken so I've been working with what is one hand. My Applejack crochet project is mildly on hold, that much crochet will give me arthritis. I want to try and get some painting in this weekend as well. Maybe some more hiking if I am lucky.

 I worked very hard for "Play with Clay" challenge on Instructables. I made two entries of which one was featured my "How to 80s style Earrings" and a second entitled "Glamorous Plumeria /bracelet made from polymer clay." I did not make it into the final rounds of the competition but, I did enjoy competing. I really like how glamorous this piece actually came out. I was very nervous about using myself as a model. I think it would be a lovely wedding piece of jewelry for any bide after I finished making it, which was a side thought after final completion.