So here they are after missing out on great sunlight for photos, I didn't want to wait to post them, I'll take better photos for my Etsy. I'm having one of those klutzy days where I seem to be tripping over my own feet. I spilled my supplies, nearly face planted in the parking lot, misplaced my camera with two minutes of setting it down.
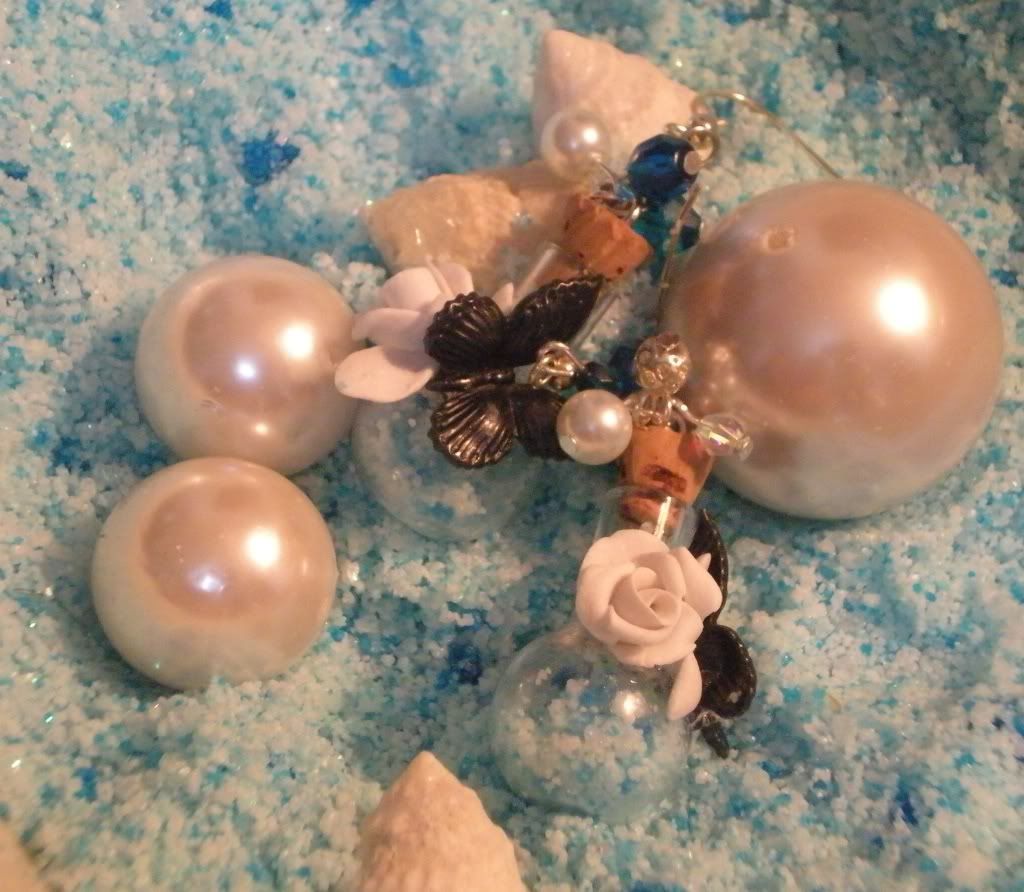
I've had these little bottles sitting in my supply box for at least a year. I filled them my favorite own homemade Sprite dust, recipe will be below. It has a lovely floral scent to it. I've just always loved fairies. I have a collection of beautiful figurines given to me by my family. Each bottle has a hand sculpted rose, leaves and brass butterfly. On the top are tiny blue beads and pearls , they reminded me of fairy baubles.
Homemade Sprite Dust Bath Salt.
2 cups Bath salt
1 tsp glitter
7 drops blue soap coloring
2 drops Plumeria Fragrance
2 drops Apple Fragrance
1 tsp olive oil
In a large bowl combine all the ingredients and mix thoroughly. Then put into a beautiful bottle and give as a gift or keep for your own uses.
Now on to the Tatting! I made a simple very Basic Tatting pattern for these Pink Earrings. I like how it came out. I made these by experimenting. I'm still at the very basic level of tatting but playing around is fun.

Little Princess Motif for Earrings
Materials
size 5 tatting needle
small crochet hook
10 crochet cotton
Leave a decent length sized tail, maybe about 1ft.
Start your Ring with a Josephine chain of 70 and close the ring and reverse your work.
then start the next Ring with 4 double stitches , 1 picot , 4 double stitches, close and hide end threads. Then just embellish with beads and you have really simple tatted earrings.
For short hand
R Jospehine ch 70, cl, rw
R 4 ds, 1p, 4 ds, cl
Hide ends.
I hope that was not too confusing for anyone to understand! Have a Happy 4th of July Tomorrow and be safe! Tomorrow I will be posting my Dream catcher earrings and launch Project Candy.
Happy Crafting!
Sorianna


 I'm kinda on a timeline so next month will be very busy. But its very exciting none the less. I had to leave thee tatting out of Raven's Kiss I couldn't get logistics on it to look like I wanted. I traded tatting for chains and beads. Well I'm tired and gong to go relax! Take care everyone!